慧眼选鸟 将评分写入照片的 EXIF/XMP 元数据中。如果照片已经导入 Lightroom,需要手动同步元数据: SuperPicky writes ratings to photo EXIF/XMP metadata. If photos are already imported in Lightroom, you need to manually sync metadata:
Lightroom 靠「文字」而非颜色本身匹配色标,所以 慧眼选鸟 写入的色名会跟随软件界面语言:中文界面写「蓝色 / 绿色 / 红色」,英文界面写 "Blue / Green / Red"。如果您的 Lightroom 颜色标签集用的是另一套文字,标签就会显示成白色空框。 Lightroom matches colour labels by their text, not by the colour itself, so SuperPicky writes the name in whichever language the app UI is set to: "Blue / Green / Red" in English, 「蓝色 / 绿色 / 红色」in Chinese. If your Lightroom colour label set uses different wording, labels show up as empty white boxes.
精选旗标写入 XMP:Pick 字段。与评分一样,需要从文件读取元数据才能在 Lightroom 中显示: Pick flags are written to the XMP:Pick field. Like ratings, you need to read metadata from files to display them in Lightroom:
0 星照片会被标记为排除旗标(XMP:Pick = -1)。同样需要从文件读取元数据: 0-star photos are marked with a reject flag (XMP:Pick = -1). You also need to read metadata from files:
慧眼选鸟 将锐度和美学评分写入 XMP 的地理位置字段,可以在 Lightroom 中直接排序: SuperPicky writes sharpness and aesthetics scores to XMP location fields, which can be sorted directly in Lightroom:
BEST 精焦 / GOOD 合焦 /
BAD 失焦 / WORST 脱焦
Focus status, written as a plain code:
BEST critical / GOOD good /
BAD soft / WORST out-of-focus
慧眼选鸟 提供完整的重置功能,可以恢复文件位置和清除元数据: SuperPicky provides a complete reset function to restore file locations and clear metadata:
V4 系列是一个跨越式的重大更新,搭载了全新的 OSEA 核心模型: V4 series is a major leap forward, powered by the new OSEA core model:
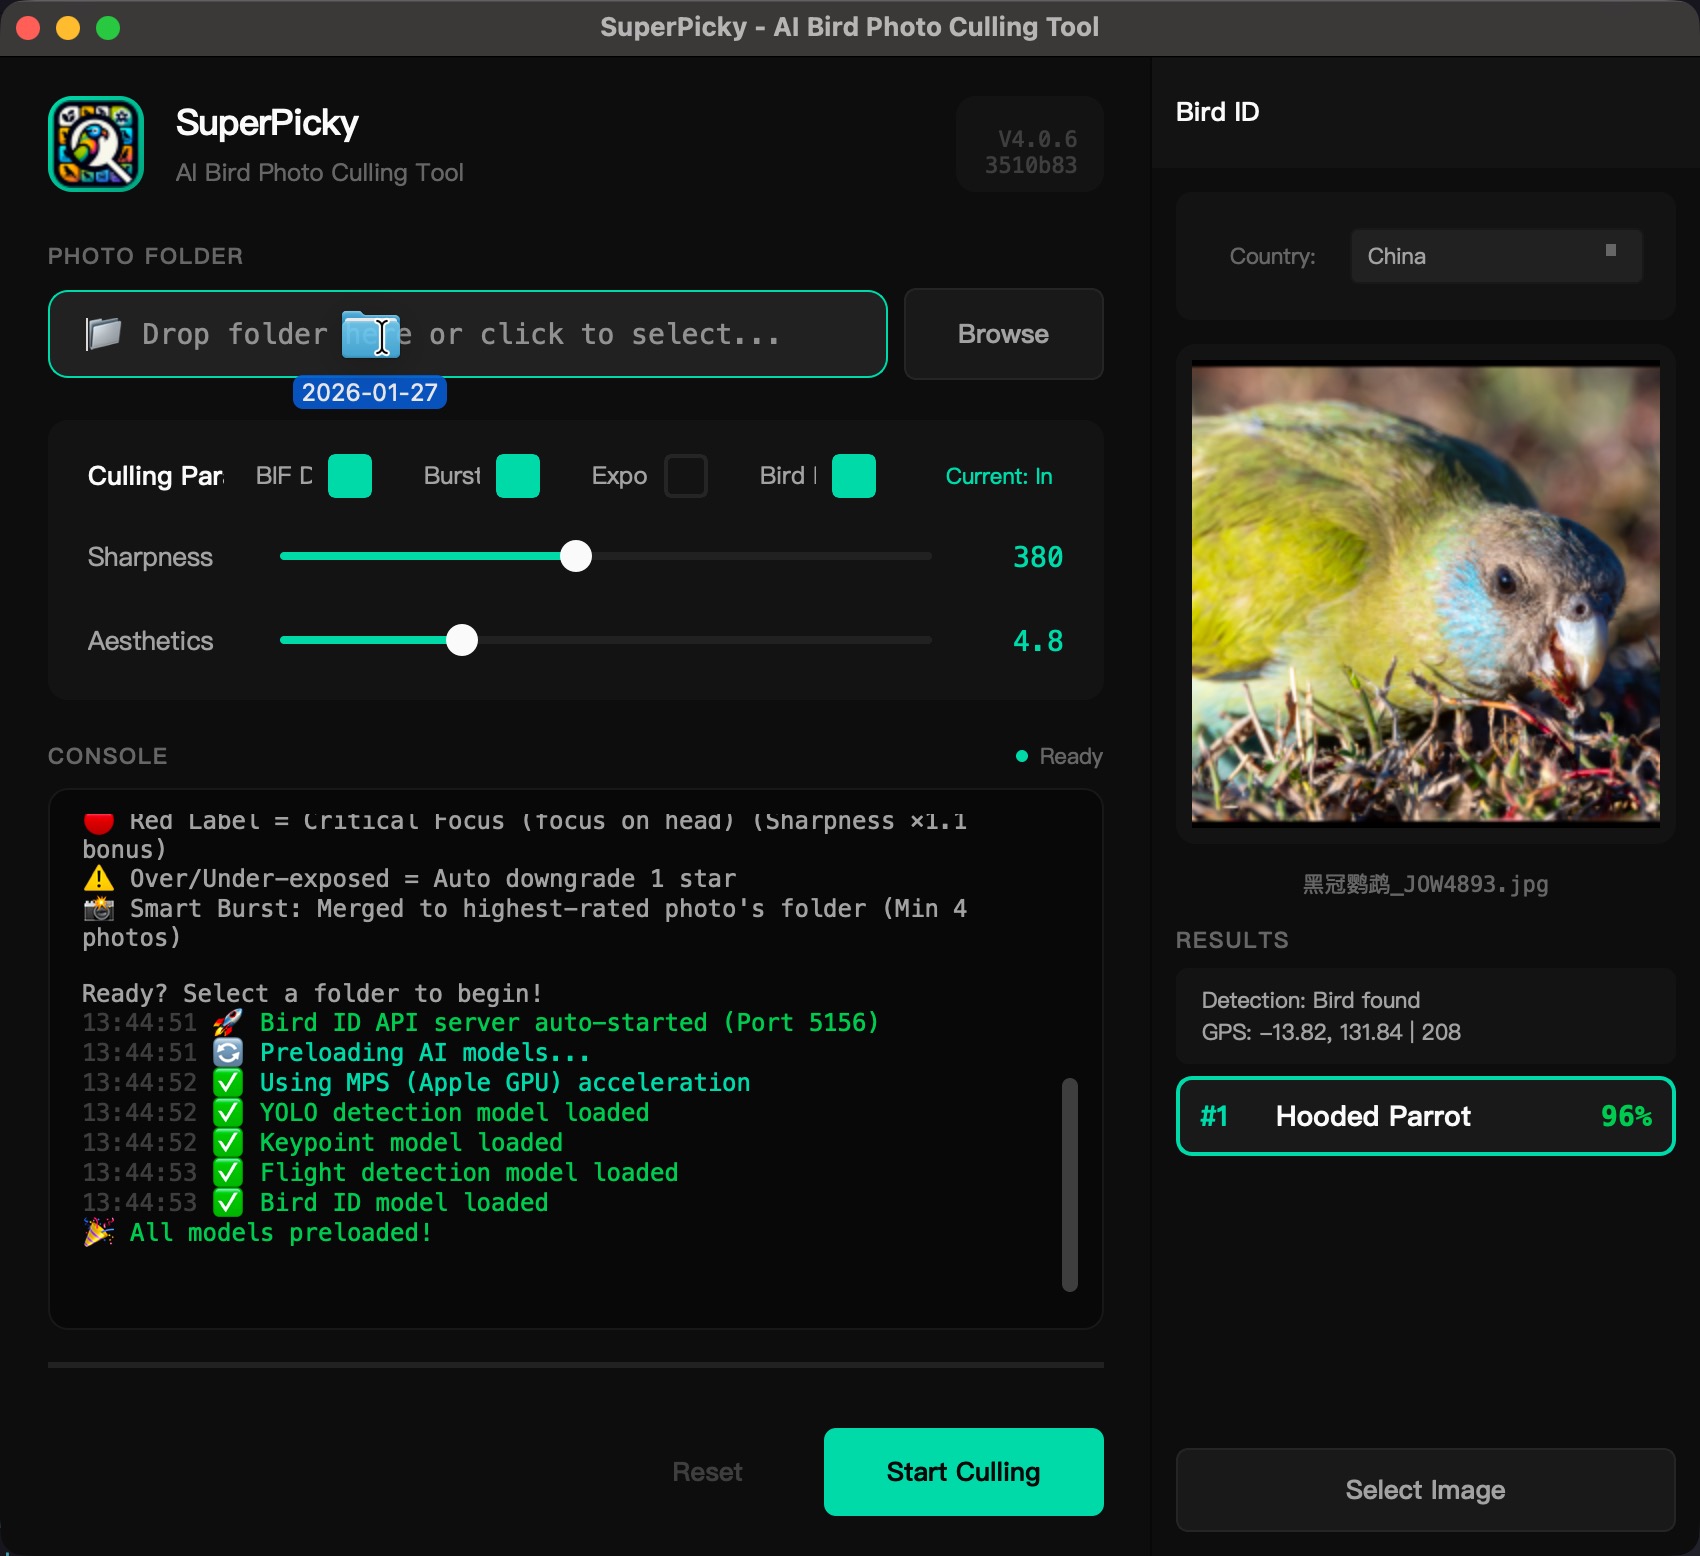
V4.0.0 安装时会自动部署 Lightroom Classic 插件。如果需要手动添加: V4.0.0 installer automatically deploys the Lightroom Classic plugin. To add manually:
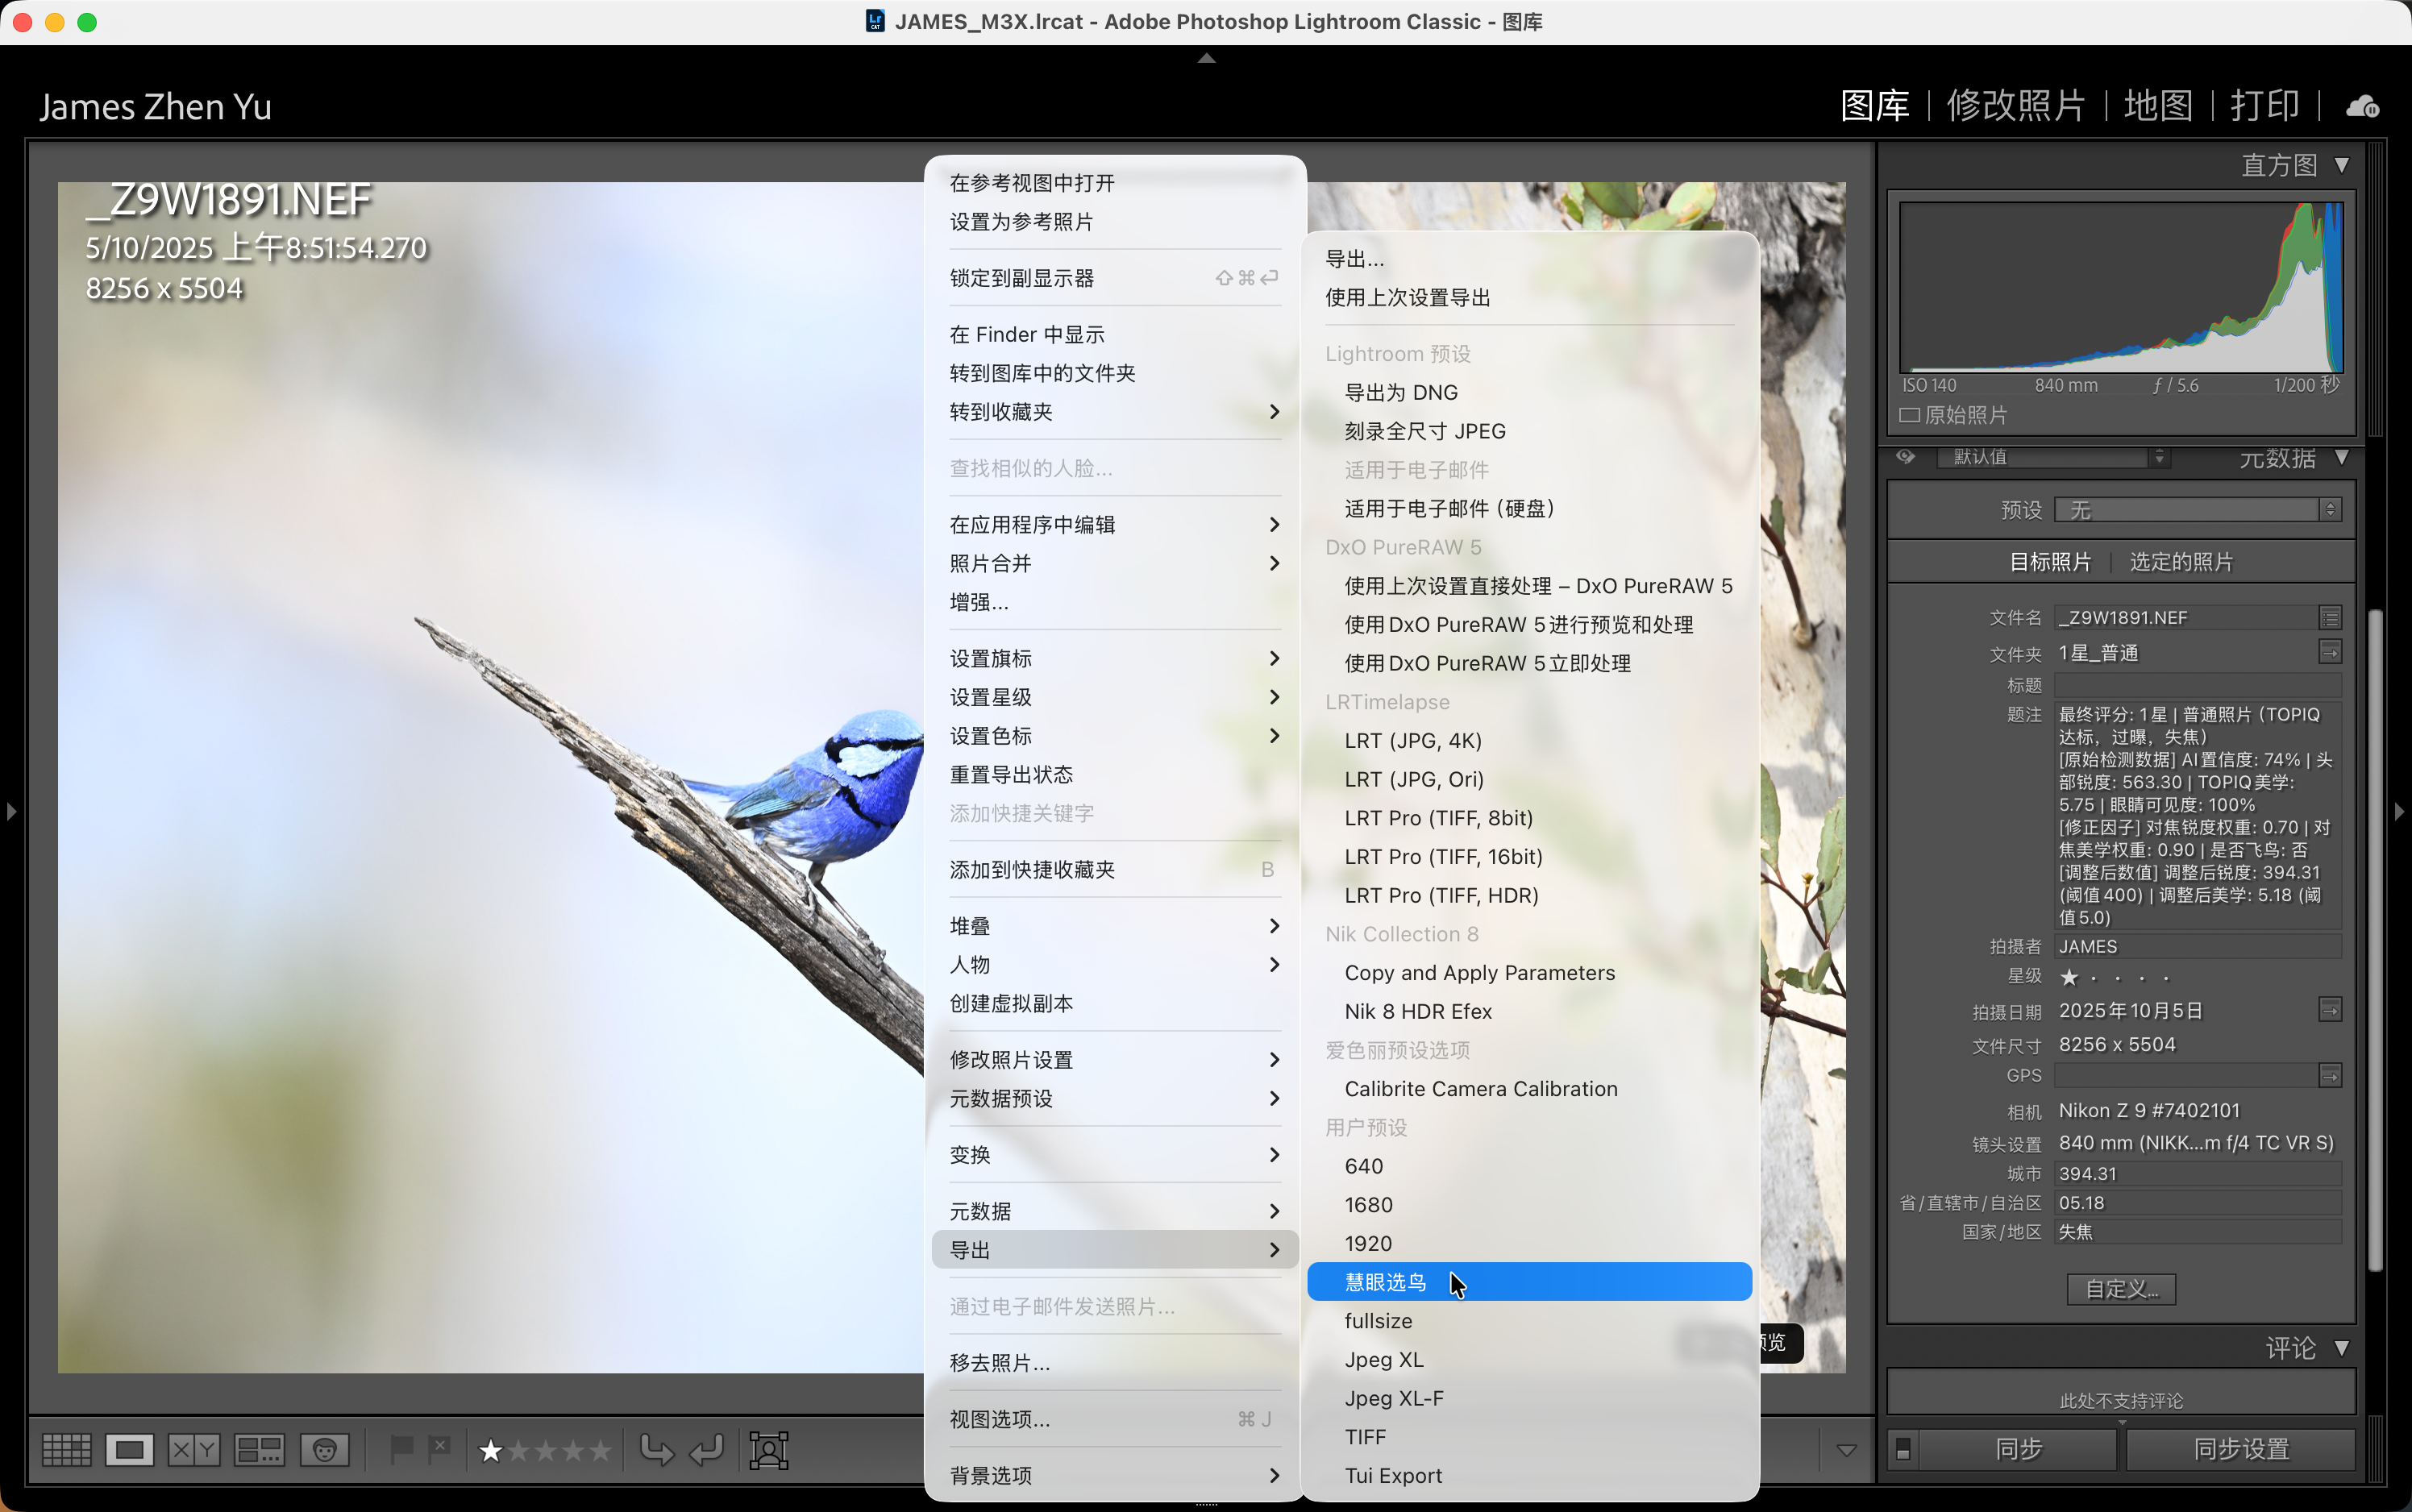
~/Library/Application Support/Adobe/Lightroom/Modules/SuperBirdID.lrplugin
Click "Add", navigate to
~/Library/Application Support/Adobe/Lightroom/Modules/SuperBirdID.lrplugin
V4.0.0 提供完整的命令行工具,支持所有核心功能: V4.0.0 provides a full-featured CLI supporting all core functions:
                                    # 处理照片目录

                                    python superpicky_cli.py process ~/Photos/Birds


                                    # 自定义阈值处理

                                    python superpicky_cli.py process ~/Photos/Birds -s 600 -n 5.2


                                    # 处理时自动识别鸟种

                                    python superpicky_cli.py process ~/Photos/Birds --auto-identify


                                    # 重置目录

                                    python superpicky_cli.py reset ~/Photos/Birds


                                    # 重新评星

                                    python superpicky_cli.py restar ~/Photos/Birds -s 700 -n 5.5


                                    # 识别单张照片的鸟类

                                    python superpicky_cli.py identify ~/Photos/bird.jpg


                                    # 识别并写入EXIF

                                    python superpicky_cli.py identify bird.NEF --write-exif
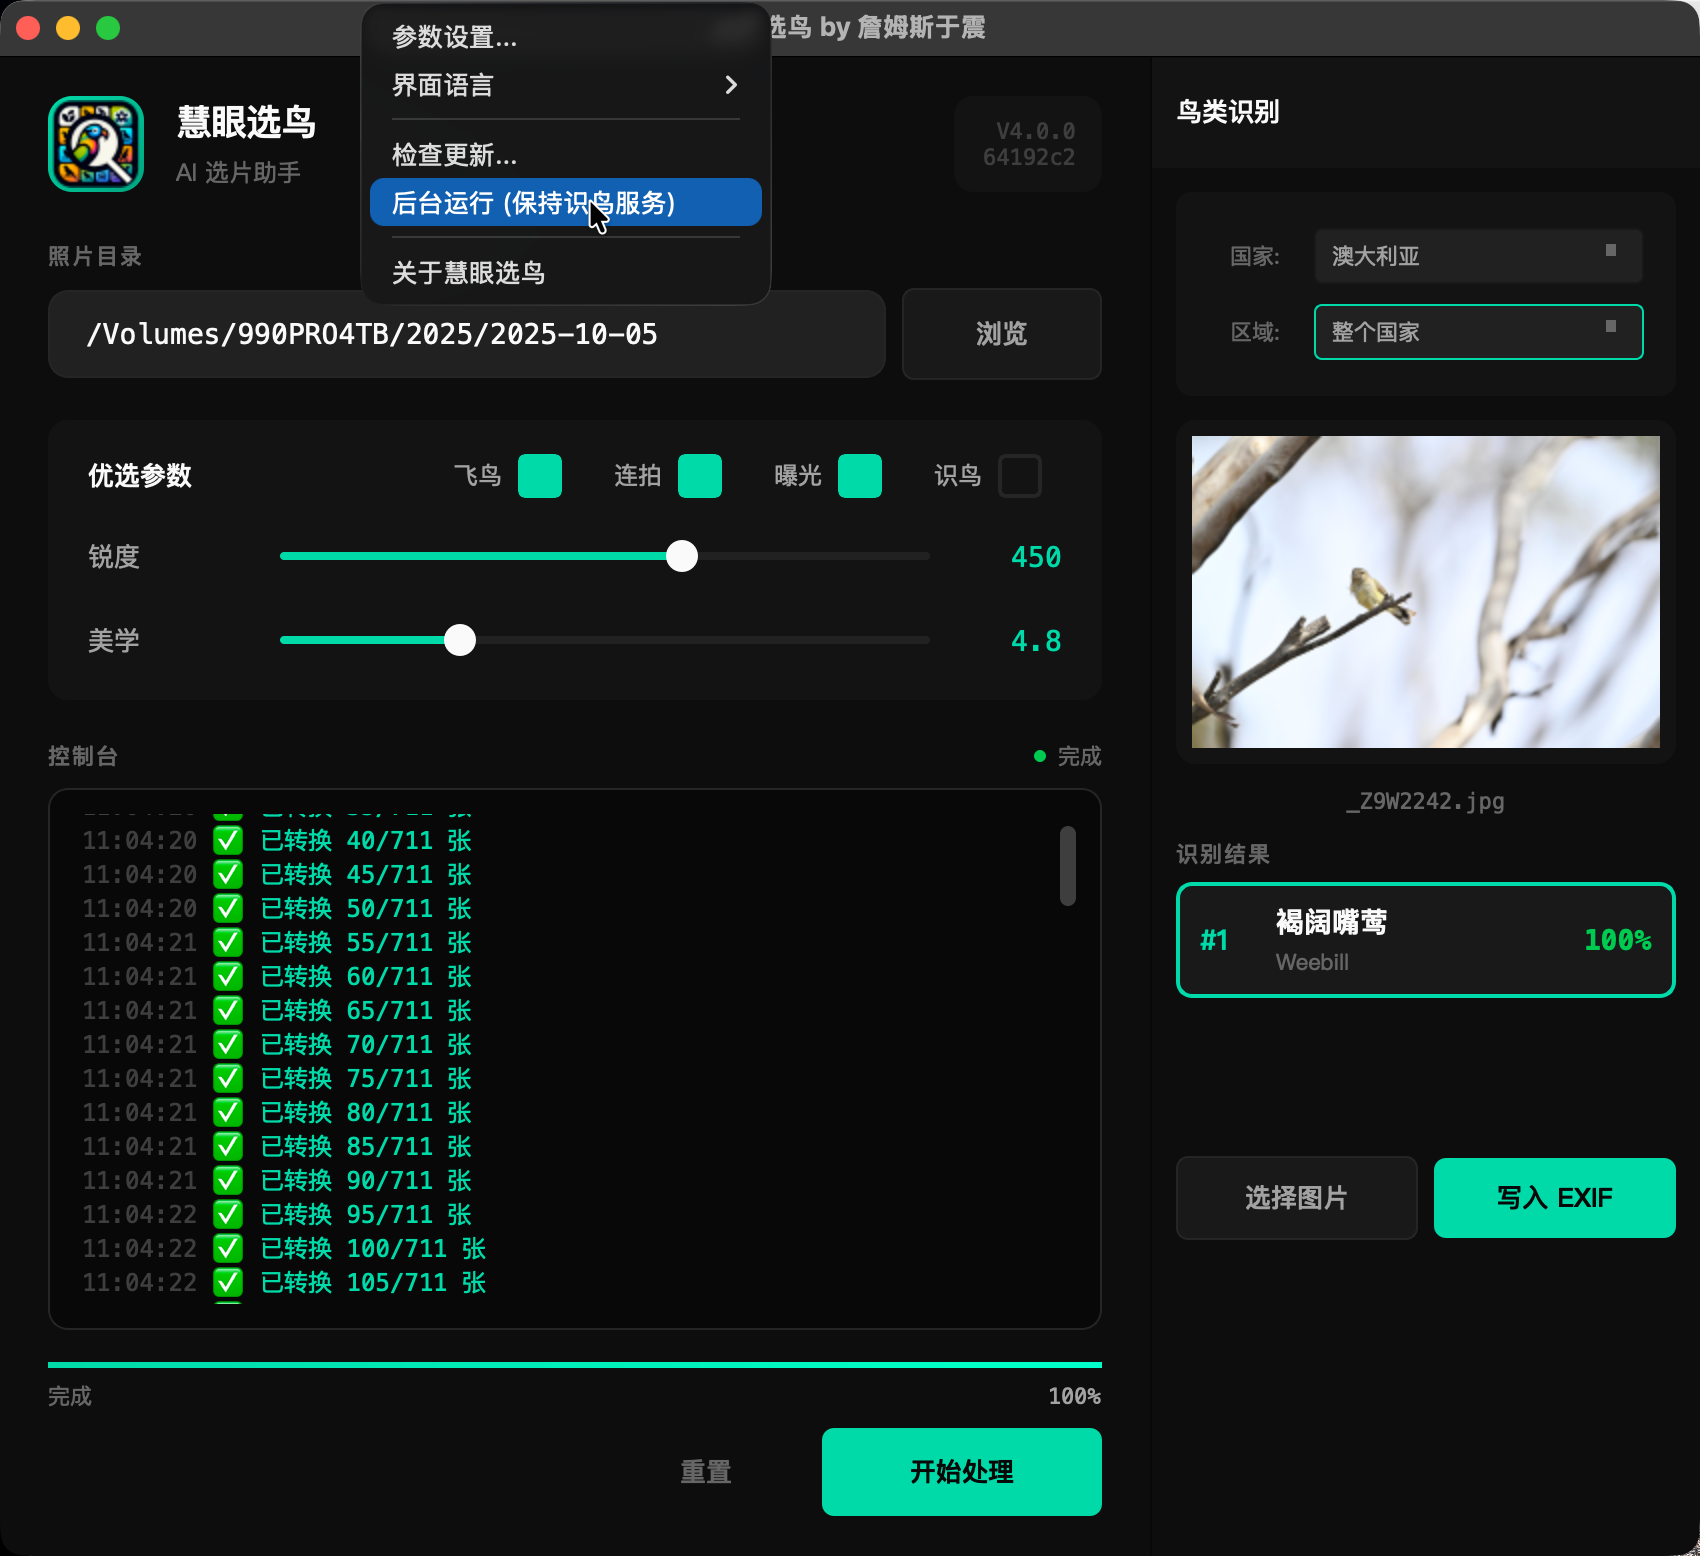
V4.0.0 新增系统托盘功能,支持后台运行: V4.0.0 adds system tray support for background mode:
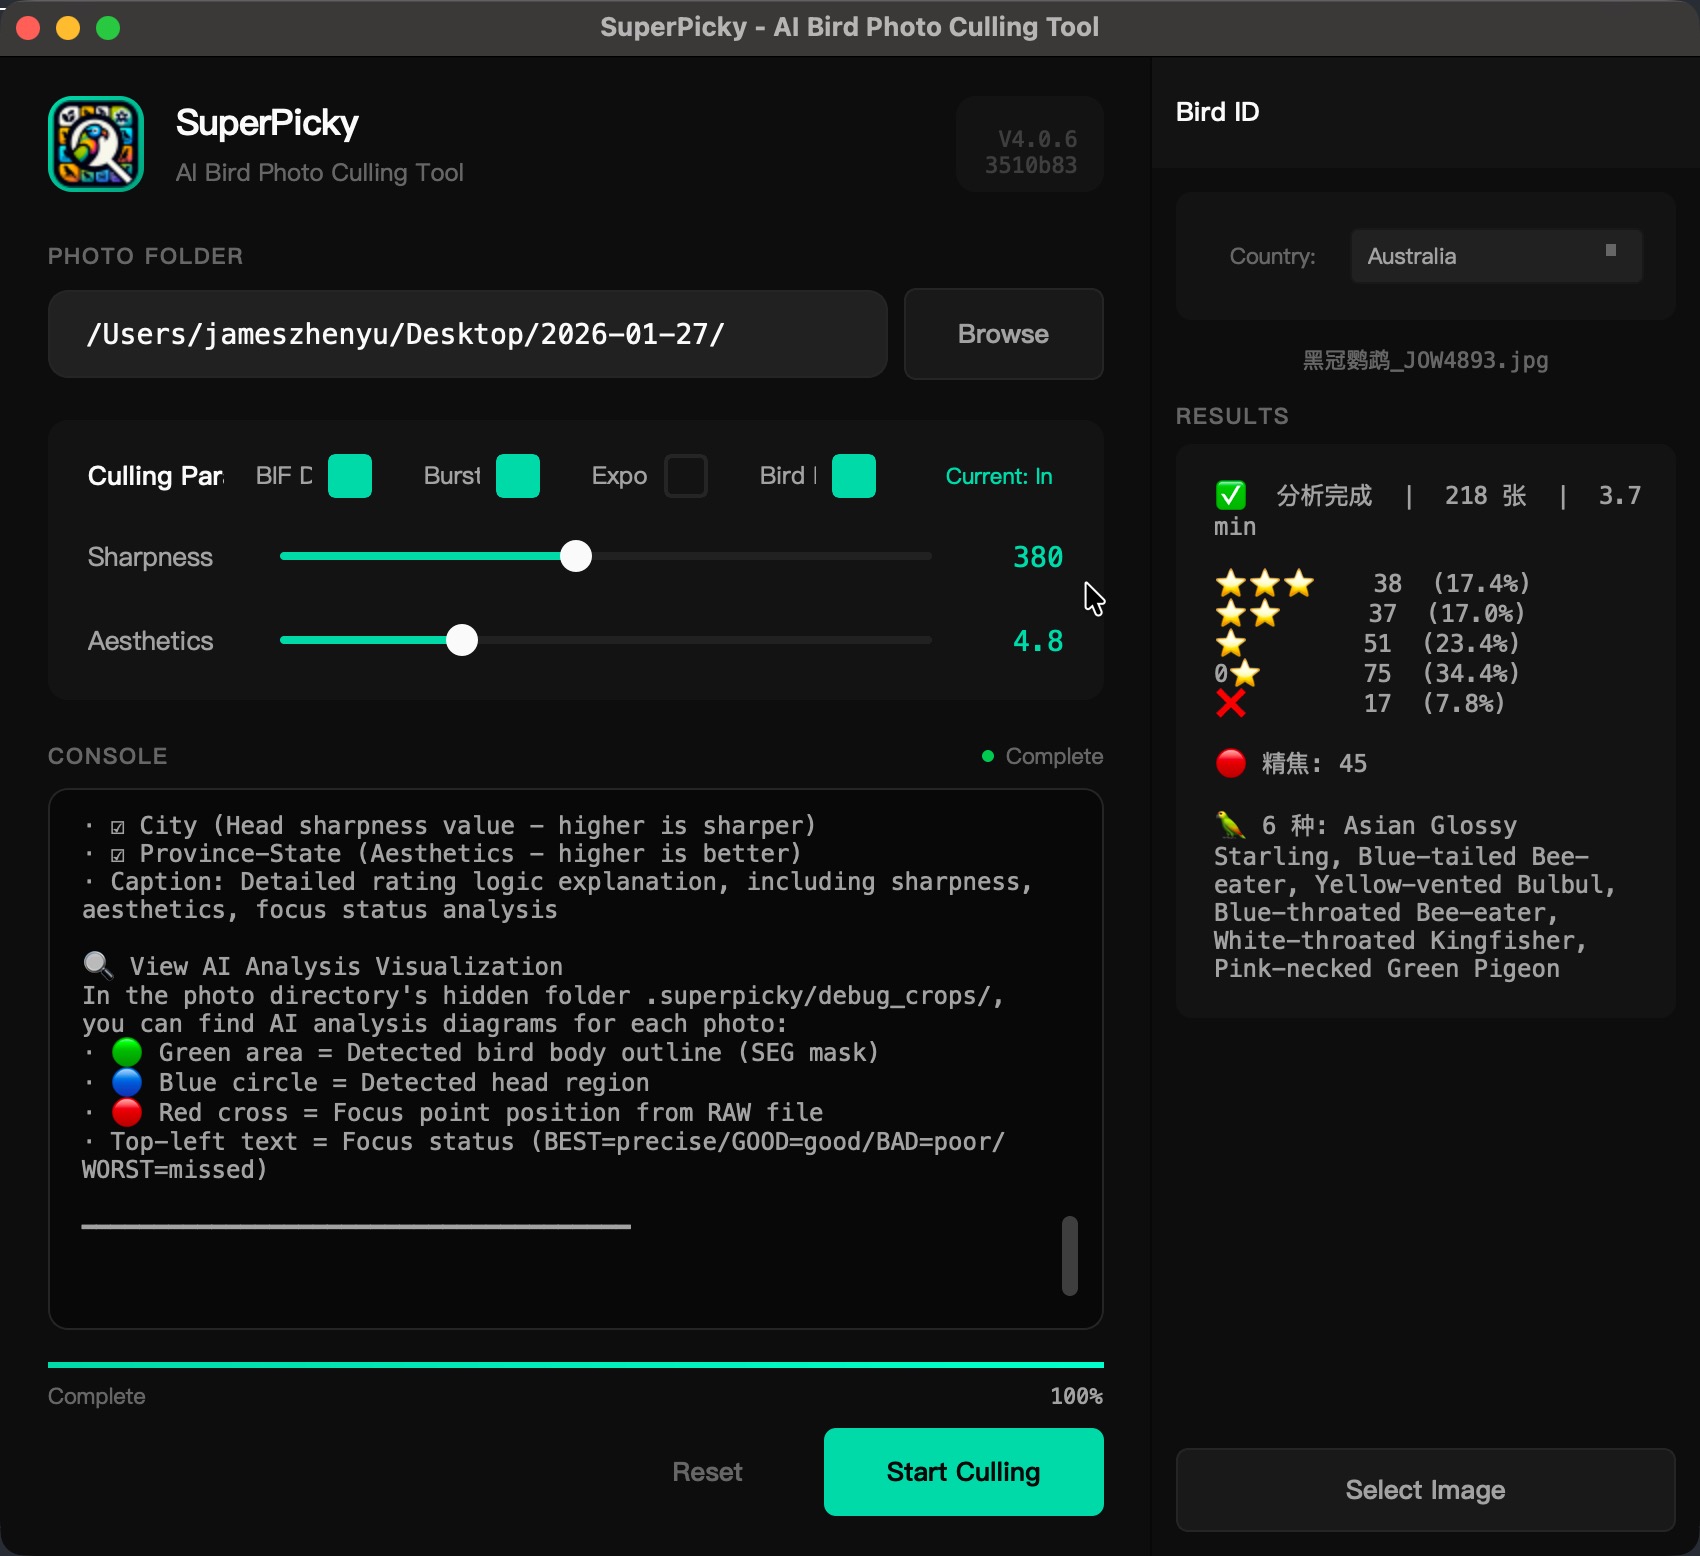
启用鸟种识别后,照片可按识别的鸟种自动分类到子目录: With bird ID enabled, photos can be auto-organized into species subdirectories:
慧眼选鸟 采用了强大的双重地理空间数据过滤,以解决 AI 模型的幻觉误差: SuperPicky uses powerful dual geospatial data filtering to solve AI model hallucinations:
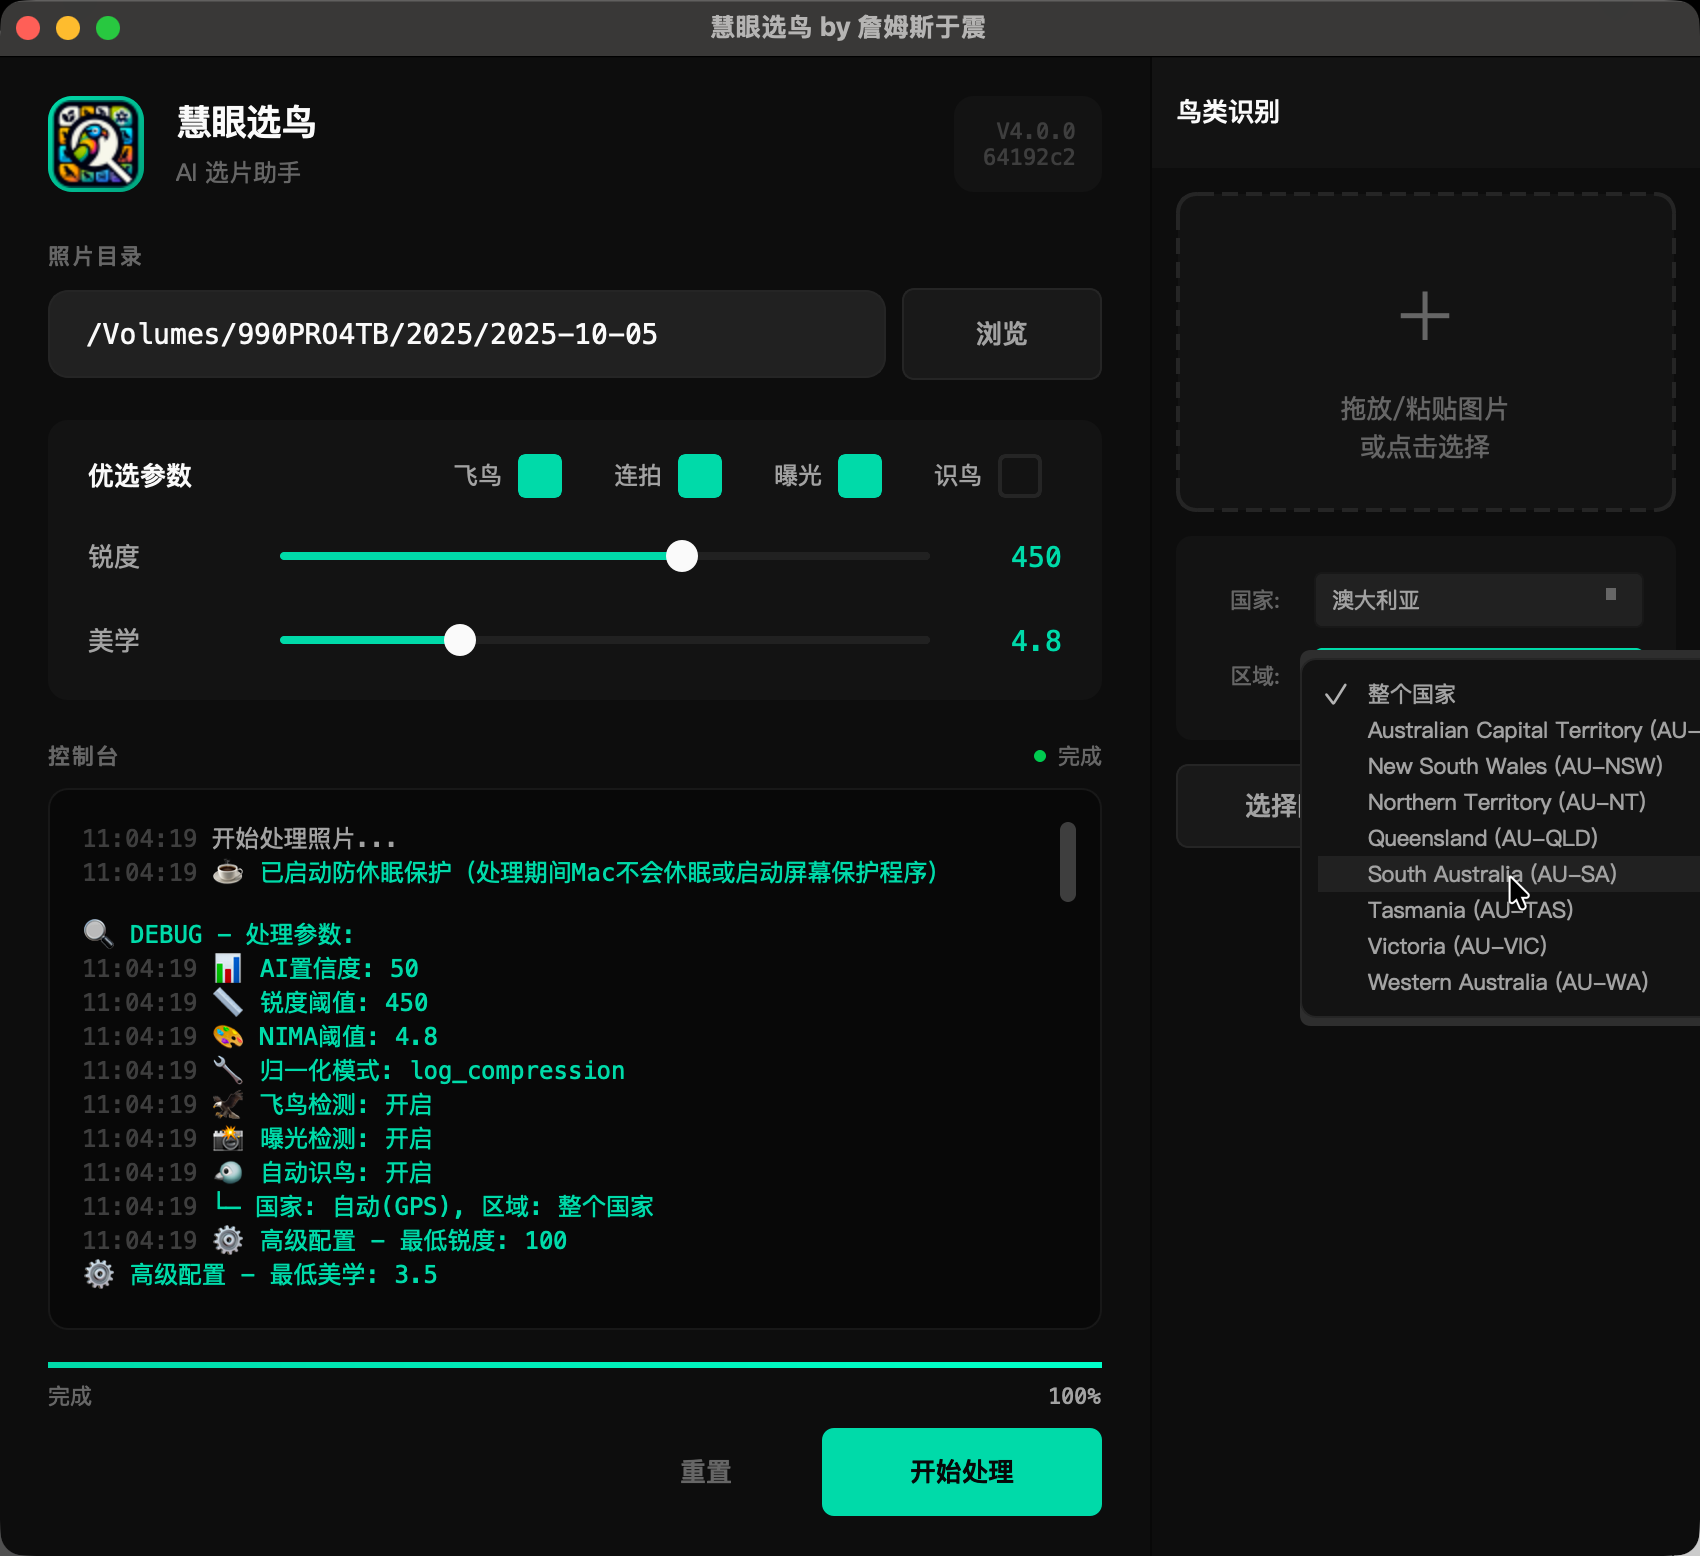
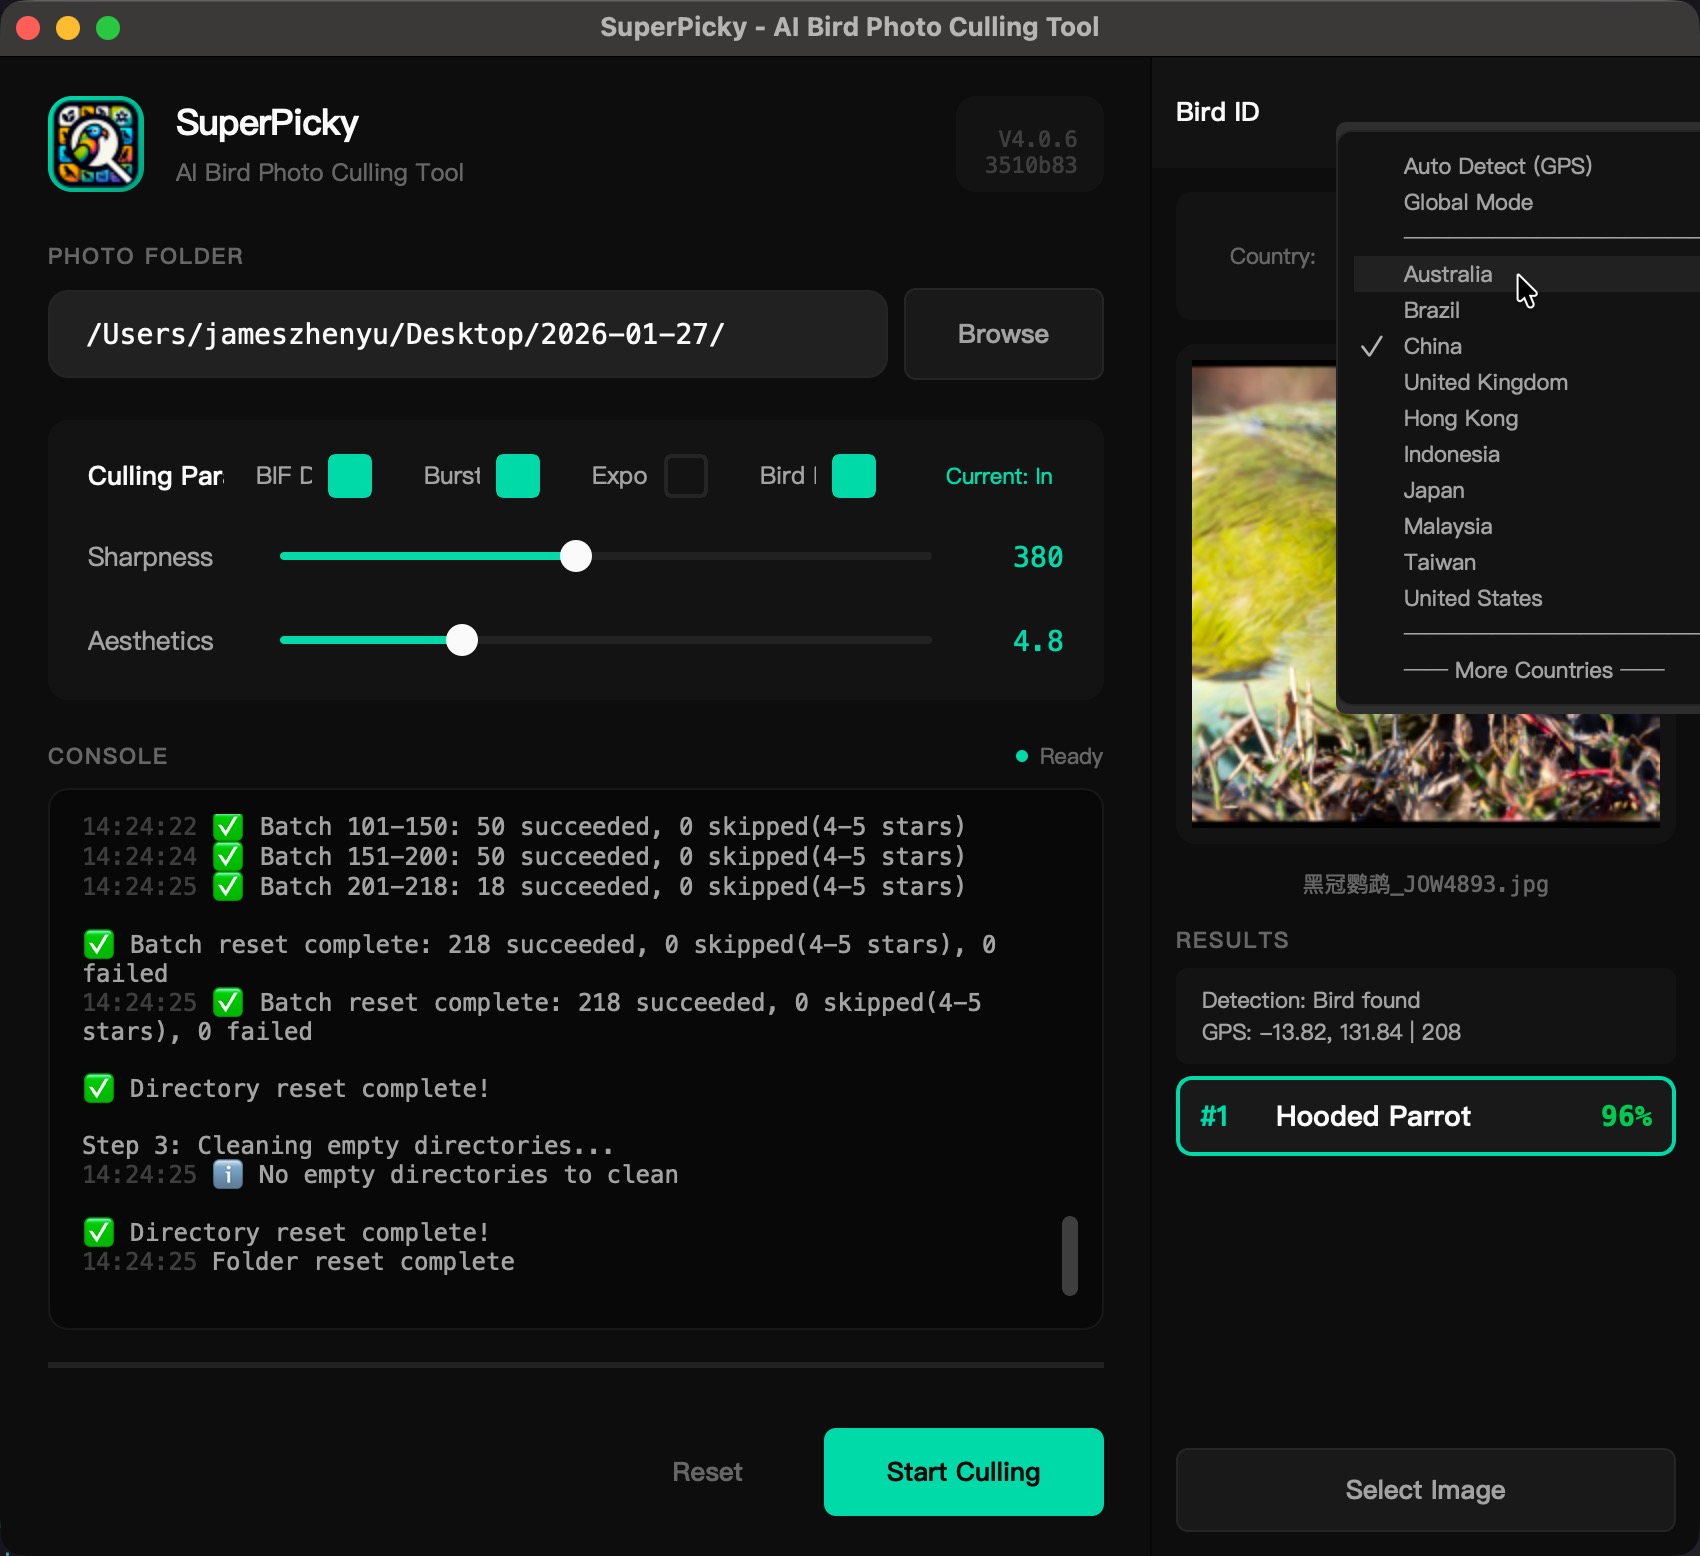
慧眼选鸟 的评分和元数据功能与 Adobe Bridge 和 Photoshop 完全兼容: SuperPicky's rating and metadata features are fully compatible with Adobe Bridge and Photoshop:
从 V4.0.6 开始,系统架构经过底层优化,冷启动性能已大幅提升: Starting from V4.0.6, architecture is heavily optimized, drastically improving cold start performance:
以下方法可以显著提高识别准确率: These methods can significantly improve identification accuracy:
鸟种识别结果会写入以下 IPTC/XMP 元数据字段: Bird identification results are written to these IPTC/XMP metadata fields:
是的!自 V4.0.6 起,Windows 版本已退出 Beta 测试,提供全面而稳定的支持,针对不同硬件双轨并行: Yes! Since V4.0.6, the Windows version is officially supported for broad hardware integration:
双达标指的是该照片的锐度 (Sharpness) 与 美学评分 (Aesthetics) 同时越过了各自的固定阈值(阈值由技能档位决定,也可自行设定)。在此基础上: Dual Qualify means the photo's Sharpness and Aesthetics both cleared their own fixed thresholds (set by your skill preset, or by hand). On top of that: